
Introduction
If you're looking for a creative and trendy way to decorate your walls, hanging yarn wall art is the perfect DIY project for you. Not only is it a fun and relaxing activity, but it also adds a unique touch to any room. With just a few simple materials and some creativity, you can create stunning pieces of art that will impress your friends and family. In this article, we'll guide you through the process of creating your own hanging yarn wall art.
Gather Your Materials
Before you get started, make sure you have all the necessary materials. You'll need a wooden dowel or a branch, yarn in various colors, scissors, and a tape measure. You can find these materials at your local craft store or even repurpose items you already have at home.
Choose Your Design

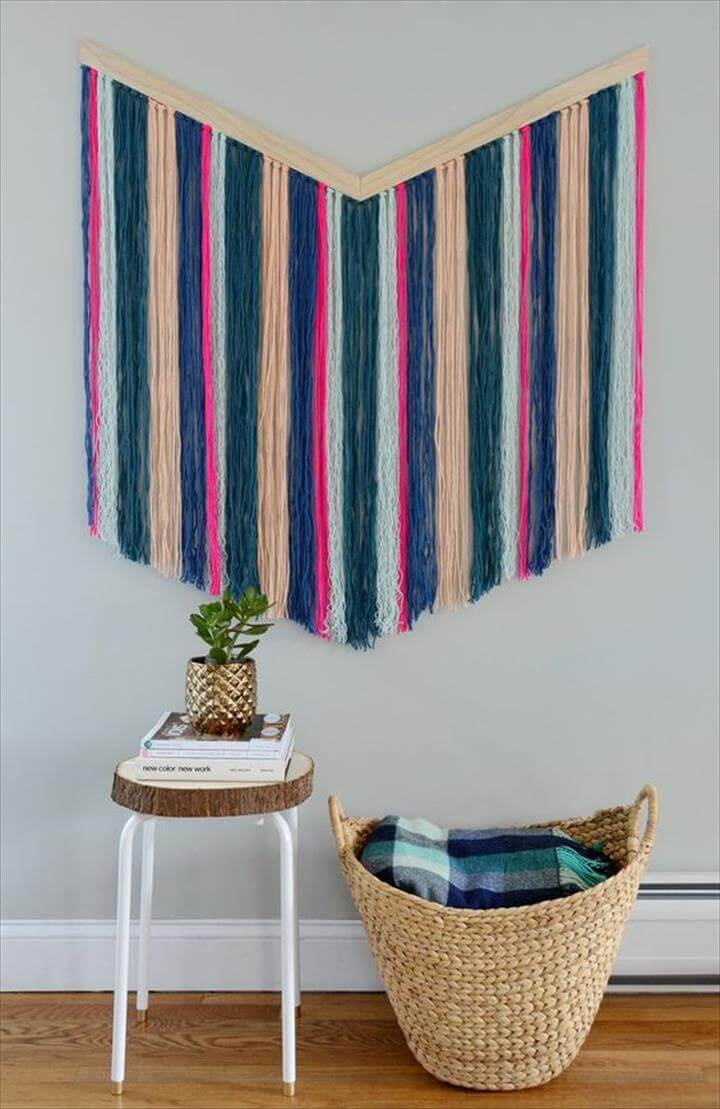
Next, it's time to decide on the design for your hanging yarn wall art. You can go for a simple and minimalistic look, or get creative with intricate patterns and textures. Consider the colors and theme of your room to ensure that your wall art complements the overall aesthetic.
Measure and Cut the Yarn

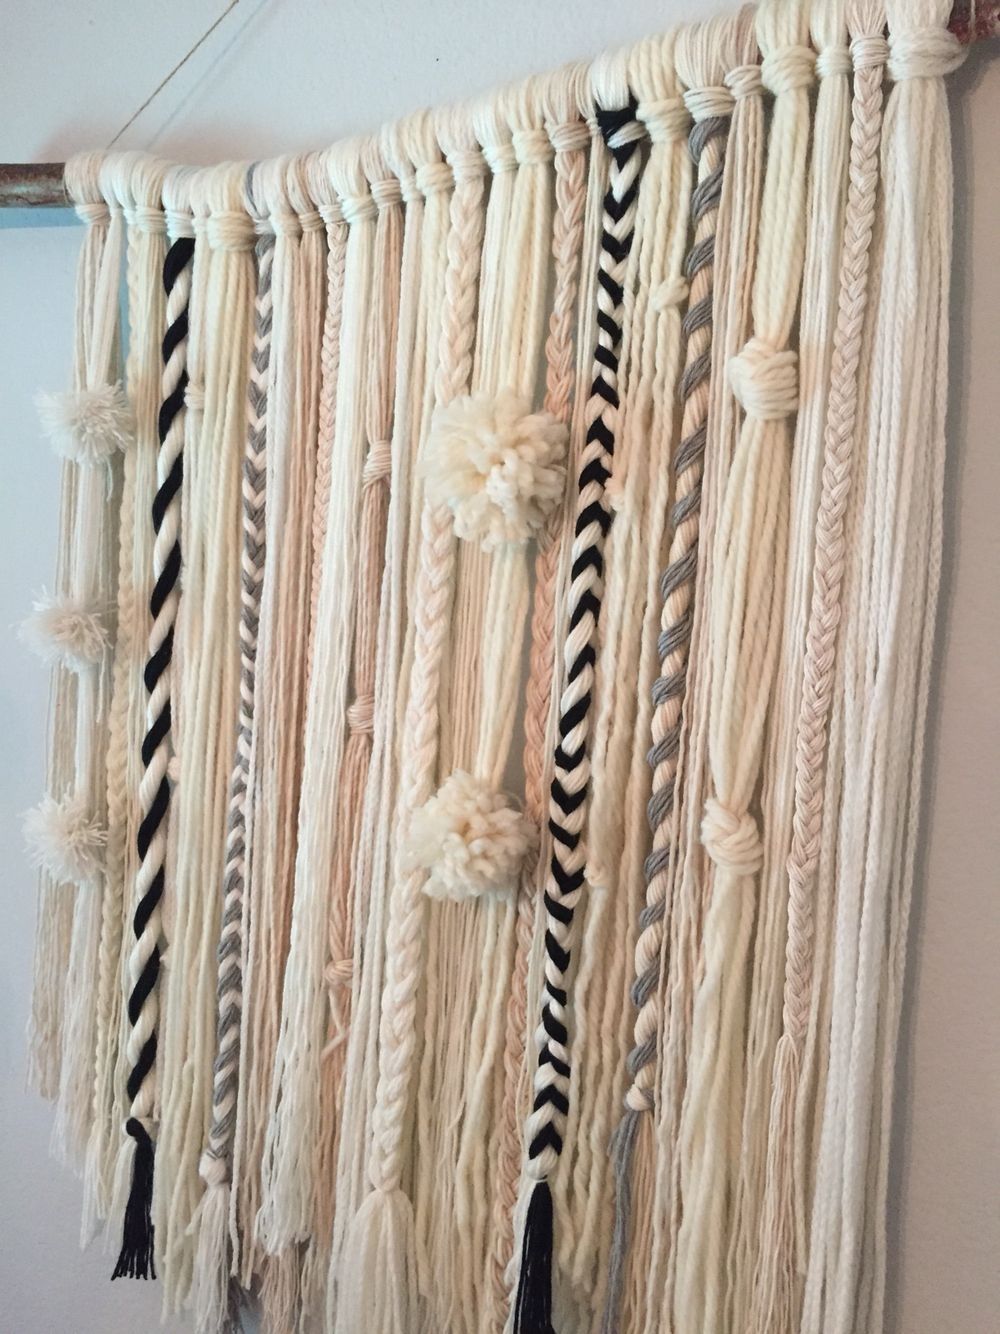
Measure and cut the yarn into equal lengths, depending on how long you want your wall art to be. Keep in mind that the yarn will be folded in half when attaching it to the dowel or branch, so make the lengths twice as long as you desire. You can experiment with different lengths to create a layered effect.
Attach the Yarn to the Dowel
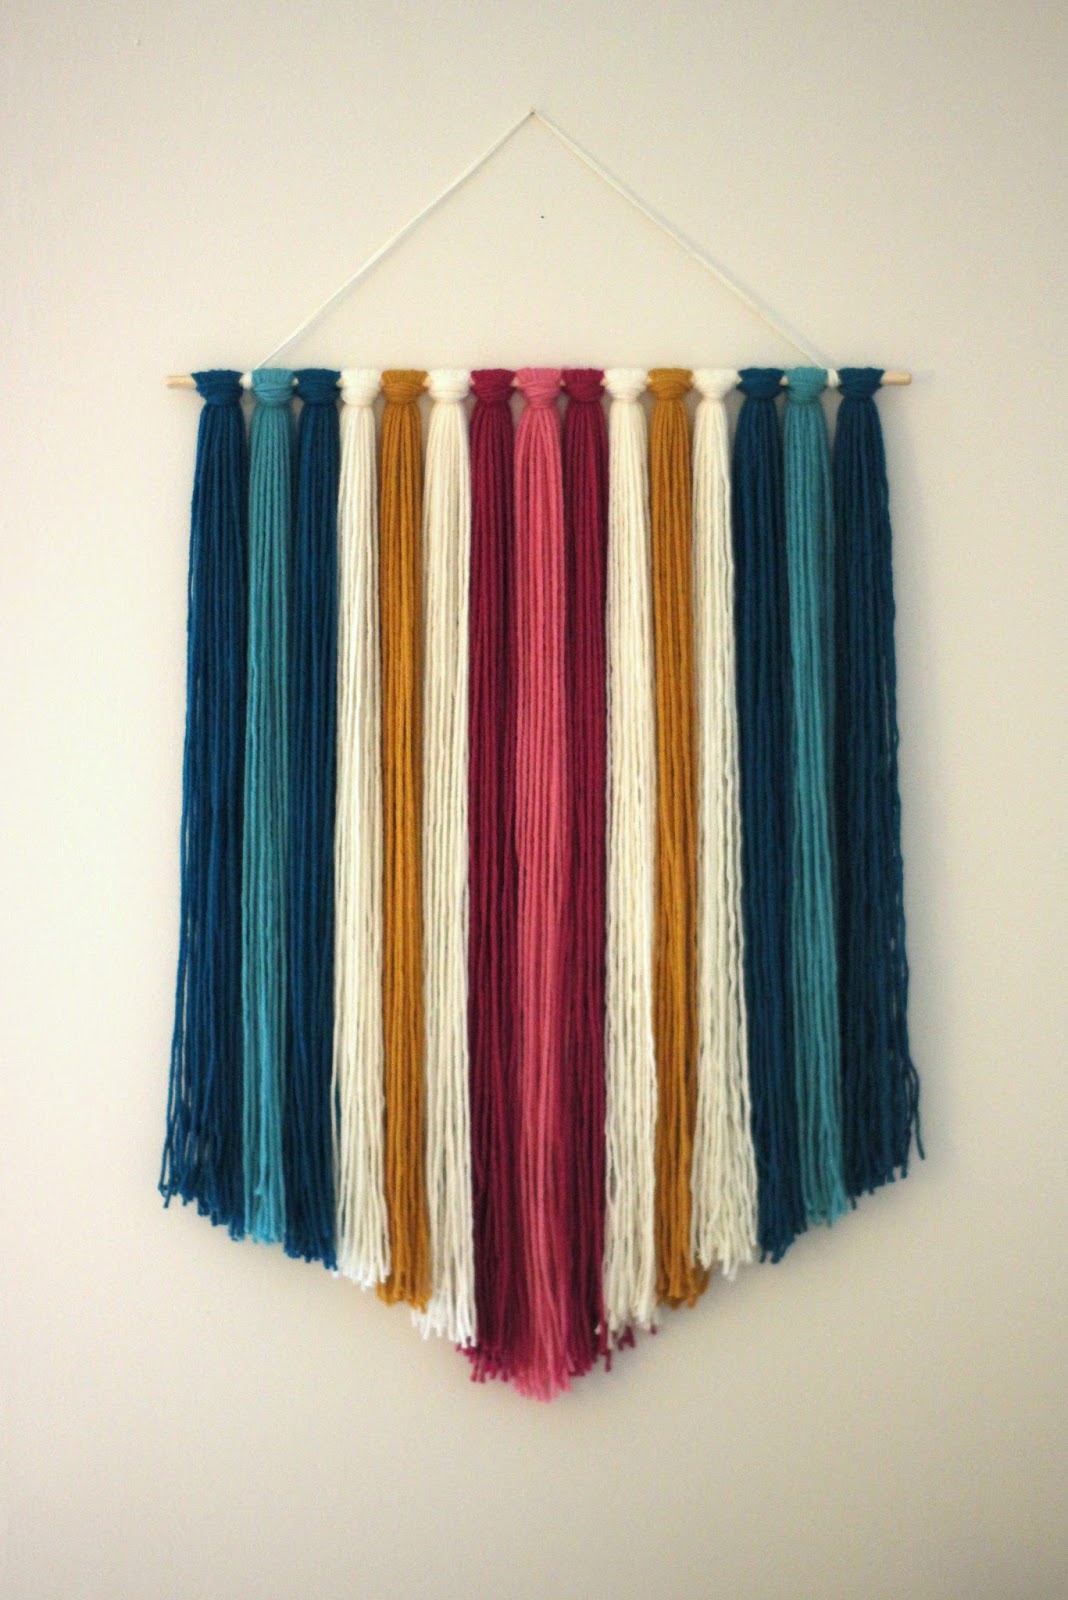
Take one piece of yarn and fold it in half. Place the folded end under the dowel, forming a loop. Pull the loose ends of the yarn through the loop and tighten, securing it to the dowel. Repeat this process with the remaining pieces of yarn, spacing them evenly along the dowel.
Create Patterns and Textures

Now comes the fun part! Use your creativity to create patterns and textures with the yarn. You can experiment with different knotting techniques, such as macrame knots or simple braids. Mix and match colors to add visual interest to your wall art.
Add Embellishments
If you want to take your hanging yarn wall art to the next level, consider adding embellishments. You can attach beads, feathers, or even small potted plants to the yarn for an extra touch of uniqueness. Get creative and let your personal style shine through!
Hanging Your Wall Art

Once you've finished creating your hanging yarn wall art, it's time to hang it on your wall. Use a piece of string or twine to create a loop at each end of the dowel. Then, simply hang it on a nail or hook on your wall. Make sure to choose a spot that showcases your artwork and complements the overall aesthetic of your room.
Conclusion
Hanging yarn wall art is a fantastic DIY project that allows you to unleash your creativity and transform your walls into stunning displays. With just a few materials and some imagination, you can create unique and personalized pieces that will add a touch of charm to any room. So, gather your materials, choose your design, and let your creativity flow!
