
Introduction
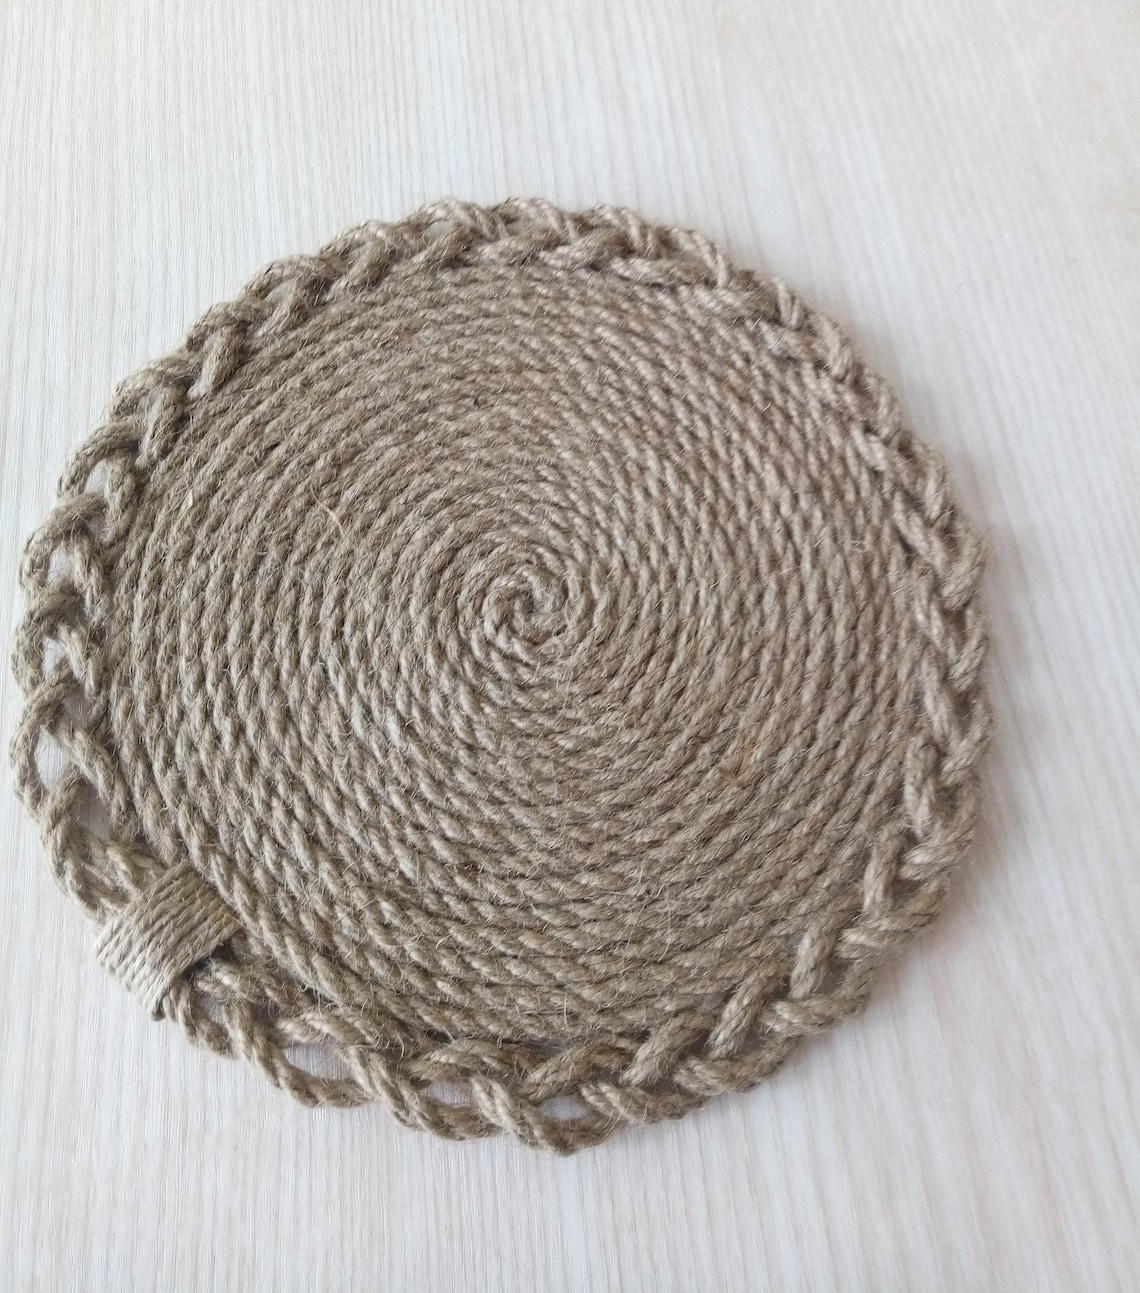
Jute wall art is a popular DIY project that allows you to create beautiful and unique decorations for your home. This natural material adds a touch of warmth and texture to any space, making it a perfect choice for wall decor. In this article, we will guide you through the process of creating your own jute wall art, providing step-by-step instructions and helpful tips along the way.

Materials Needed
To get started with your jute wall art DIY project, you will need the following materials:
- Jute rope
- Hot glue gun
- Scissors
- Wooden dowel or branch
- Optional: Paint or stain for the wooden dowel

Step 1: Prepare the Wooden Dowel
If you are using a wooden dowel, you may want to paint or stain it to match your desired color scheme. This step is optional but can add a personalized touch to your jute wall art. Allow the dowel to dry completely before moving on to the next step.

Step 2: Cut the Jute Rope
Measure and cut several lengths of jute rope according to your desired design. It's a good idea to cut them slightly longer than you think you'll need, as you can always trim them later.

Step 3: Attach the Jute Rope to the Dowel
Using a hot glue gun, apply a small amount of glue to one end of a jute rope length and attach it to the wooden dowel. Hold it in place for a few seconds until the glue sets. Repeat this process for each piece of jute rope, spacing them evenly along the dowel.

Step 4: Create Knots or Fringes
Now it's time to add some texture to your jute wall art. You can choose to tie knots along the jute ropes or create fringes by unraveling the ends. Experiment with different techniques to achieve the desired look.

Step 5: Hang Your Jute Wall Art
Once you are satisfied with the design, it's time to hang your jute wall art. You can use a nail or hook to securely attach the wooden dowel to the wall. Make sure it is level and centered for the best visual impact.
Tips and Tricks
Here are some additional tips and tricks to help you create stunning jute wall art:
- Experiment with different thicknesses of jute rope for added dimension.
- Consider adding other embellishments such as beads, feathers, or shells to customize your design.
- Try creating different patterns or shapes with the jute ropes, such as a chevron or diamond pattern.
- Use a ruler or measuring tape to ensure even spacing between the jute ropes.
- If you make a mistake, don't worry! Jute is forgiving, and you can easily remove and reposition the ropes.

Conclusion
Jute wall art DIY projects are a fun and creative way to add a touch of natural beauty to your home decor. With just a few materials and some imagination, you can create stunning pieces that reflect your personal style. Whether you prefer a simple and rustic design or a more intricate pattern, jute wall art is a versatile option that will enhance any room. So why not give it a try and enjoy the satisfaction of creating something beautiful with your own hands!
