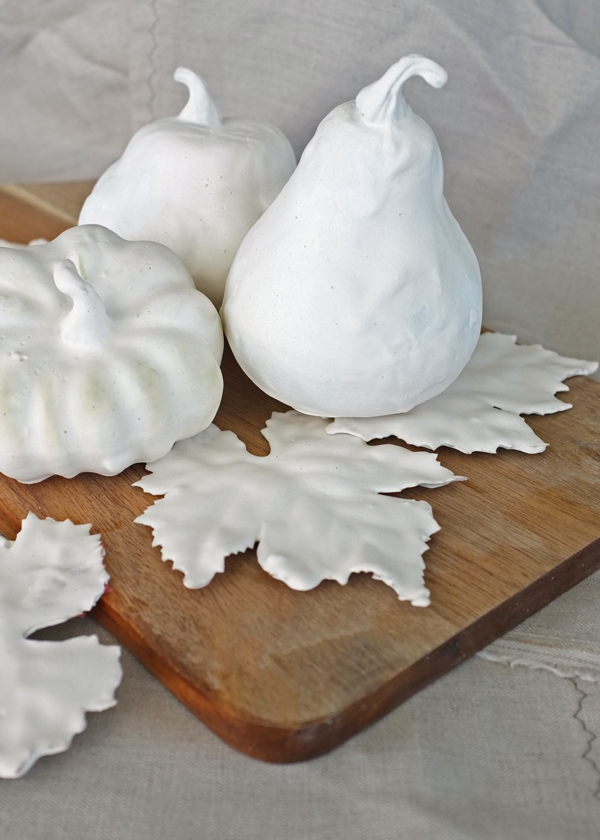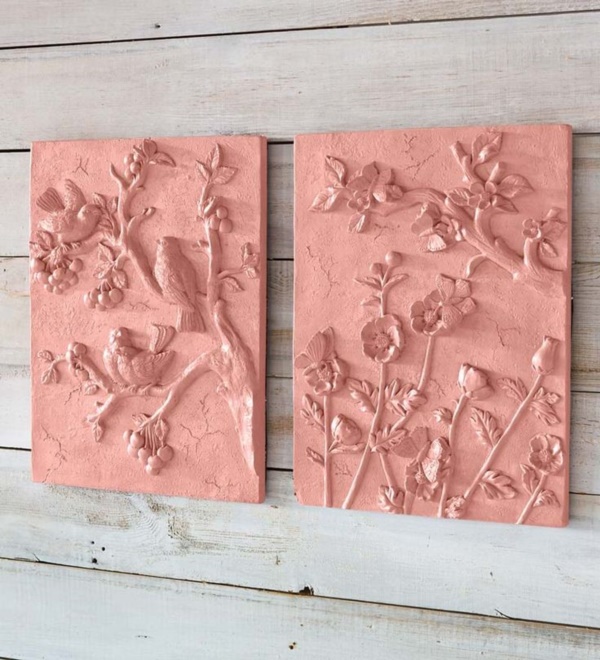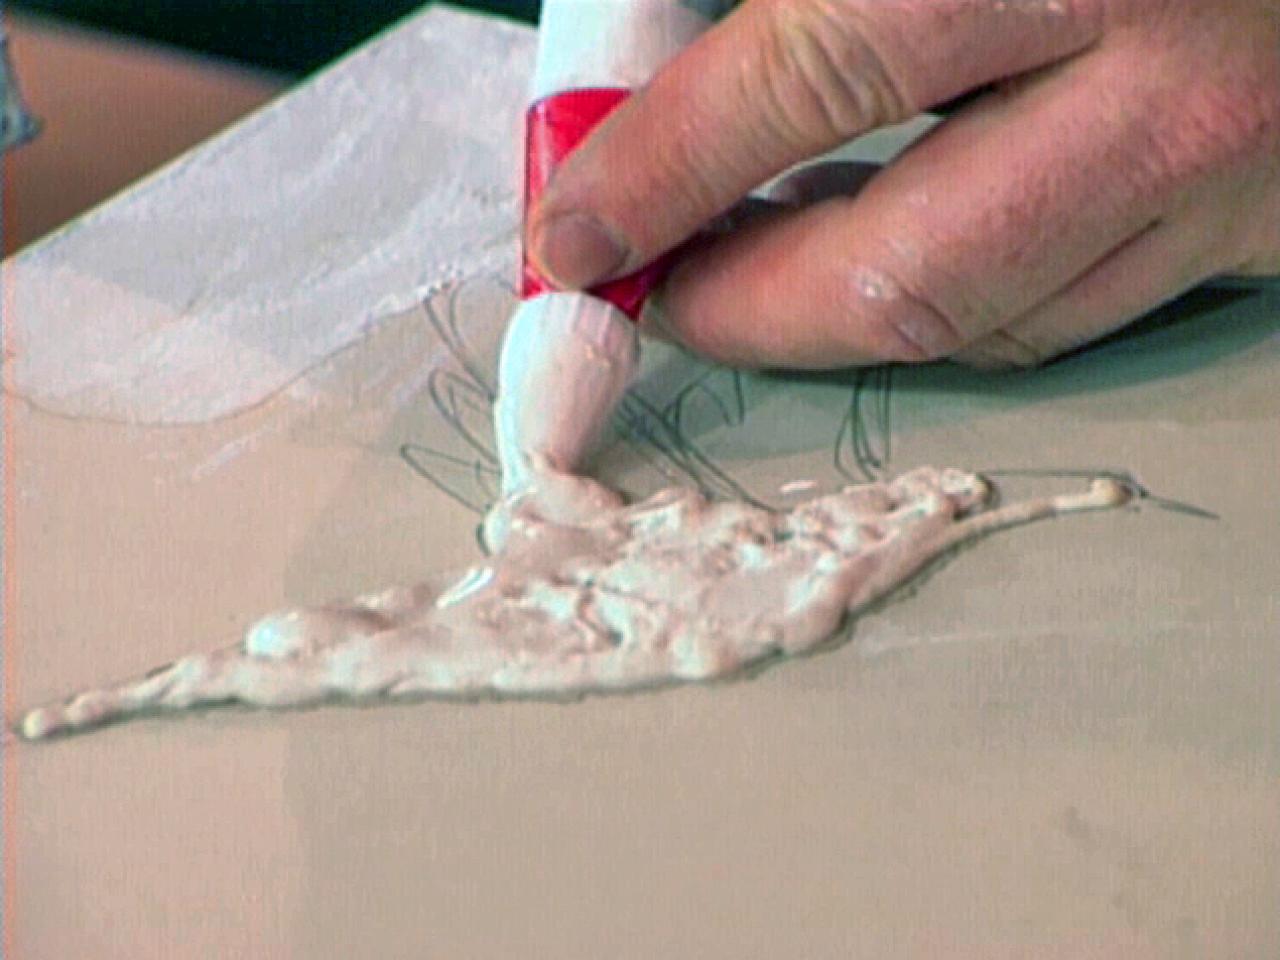
Are you looking to add a touch of elegance and creativity to your home decor? Look no further than plaster of Paris wall art. This do-it-yourself project allows you to unleash your artistic side and create stunning wall decorations that will impress your guests. Whether you're a seasoned DIY enthusiast or a beginner, plaster of Paris wall art is a fun and rewarding project to undertake. In this article, we will guide you through the process of creating your own plaster of Paris wall art.
Materials Needed

Before you get started, gather the following materials:
- Plaster of Paris
- Water
- Mixing bowl and spoon
- Plastic molds or silicone molds
- Paints and brushes
- Sandpaper
- Sealer or varnish
- Hanging hardware
Step 1: Prepare the Plaster of Paris

In a mixing bowl, combine the plaster of Paris with water according to the manufacturer's instructions. Stir well until you achieve a smooth and creamy consistency. Make sure to work quickly as the plaster tends to dry fast.
Step 2: Pour the Plaster into Molds
Once the plaster is ready, pour it into your chosen molds. You can find a variety of molds in craft stores or even use household items like cookie cutters or plastic containers. Fill the molds to the desired thickness, ensuring there are no air bubbles trapped inside.
Step 3: Remove Air Bubbles

To remove any air bubbles, gently tap the molds on a flat surface or use a toothpick to pop them. This step is crucial to ensure a smooth and flawless finish on your wall art.
Step 4: Allow the Plaster to Dry

Leave the molds undisturbed for the recommended drying time, usually around 24 hours. Avoid touching or moving the molds during this period to prevent any damage to the plaster.
Step 5: Remove the Plaster from Molds

Once the plaster is completely dry, carefully remove it from the molds. If the plaster doesn't come out easily, gently tap the molds or flex them to release the plaster. Take your time during this step to ensure the wall art remains intact.
Step 6: Sand and Smooth the Edges

Use sandpaper to smooth any rough edges or imperfections on your plaster pieces. Start with a coarse grit sandpaper and gradually move to a finer grit for a polished finish. Be careful not to sand too much, as you might lose intricate details.
Step 7: Paint and Decorate

Now comes the fun part ??? painting and decorating your plaster of Paris wall art. Use acrylic paints or any other desired paint medium to add colors and patterns to your pieces. Let your creativity run wild and experiment with various techniques to achieve the desired look.
Step 8: Apply a Sealer or Varnish

To protect your wall art and give it a glossy or matte finish, apply a sealer or varnish. This step will also enhance the colors and prevent them from fading over time. Follow the manufacturer's instructions for the specific sealer or varnish you choose.
Step 9: Attach Hanging Hardware

Before displaying your plaster of Paris wall art, attach the necessary hanging hardware. Depending on the weight and size of your pieces, you may need picture hooks, adhesive hangers, or wire. Ensure the hardware is securely attached to prevent any accidents.
Step 10: Display and Admire Your Creation

Finally, find the perfect spot to showcase your beautiful plaster of Paris wall art. Whether it's in the living room, bedroom, or hallway, your unique creations will add a touch of elegance and personality to any space.
Now that you know the step-by-step process of creating plaster of Paris wall art, it's time to unleash your creativity and start your own DIY project. Get ready to impress your friends and family with your artistic skills!