Introduction
Wall art DIY painting is a creative and cost-effective way to add a personal touch to your living space. Whether you are an experienced artist or a beginner, creating your own wall art can be a fun and rewarding experience. In this article, we will explore various techniques and ideas for DIY wall art painting, helping you transform your walls into unique masterpieces.
Gather Your Materials

Before you start your DIY wall art painting project, it's essential to gather all the necessary materials. Here are some basic supplies you will need:
- Canvas or wood panel
- Acrylic or oil paints
- Paintbrushes of different sizes
- Palette or paper plates for mixing colors
- Water container and rags for cleaning brushes
- Drop cloth or old newspapers to protect your workspace
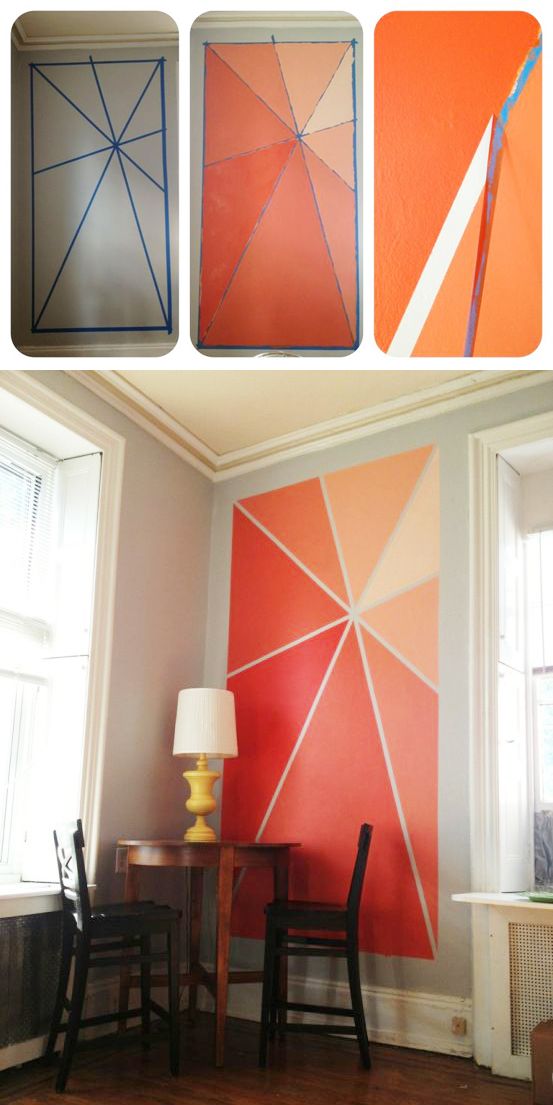
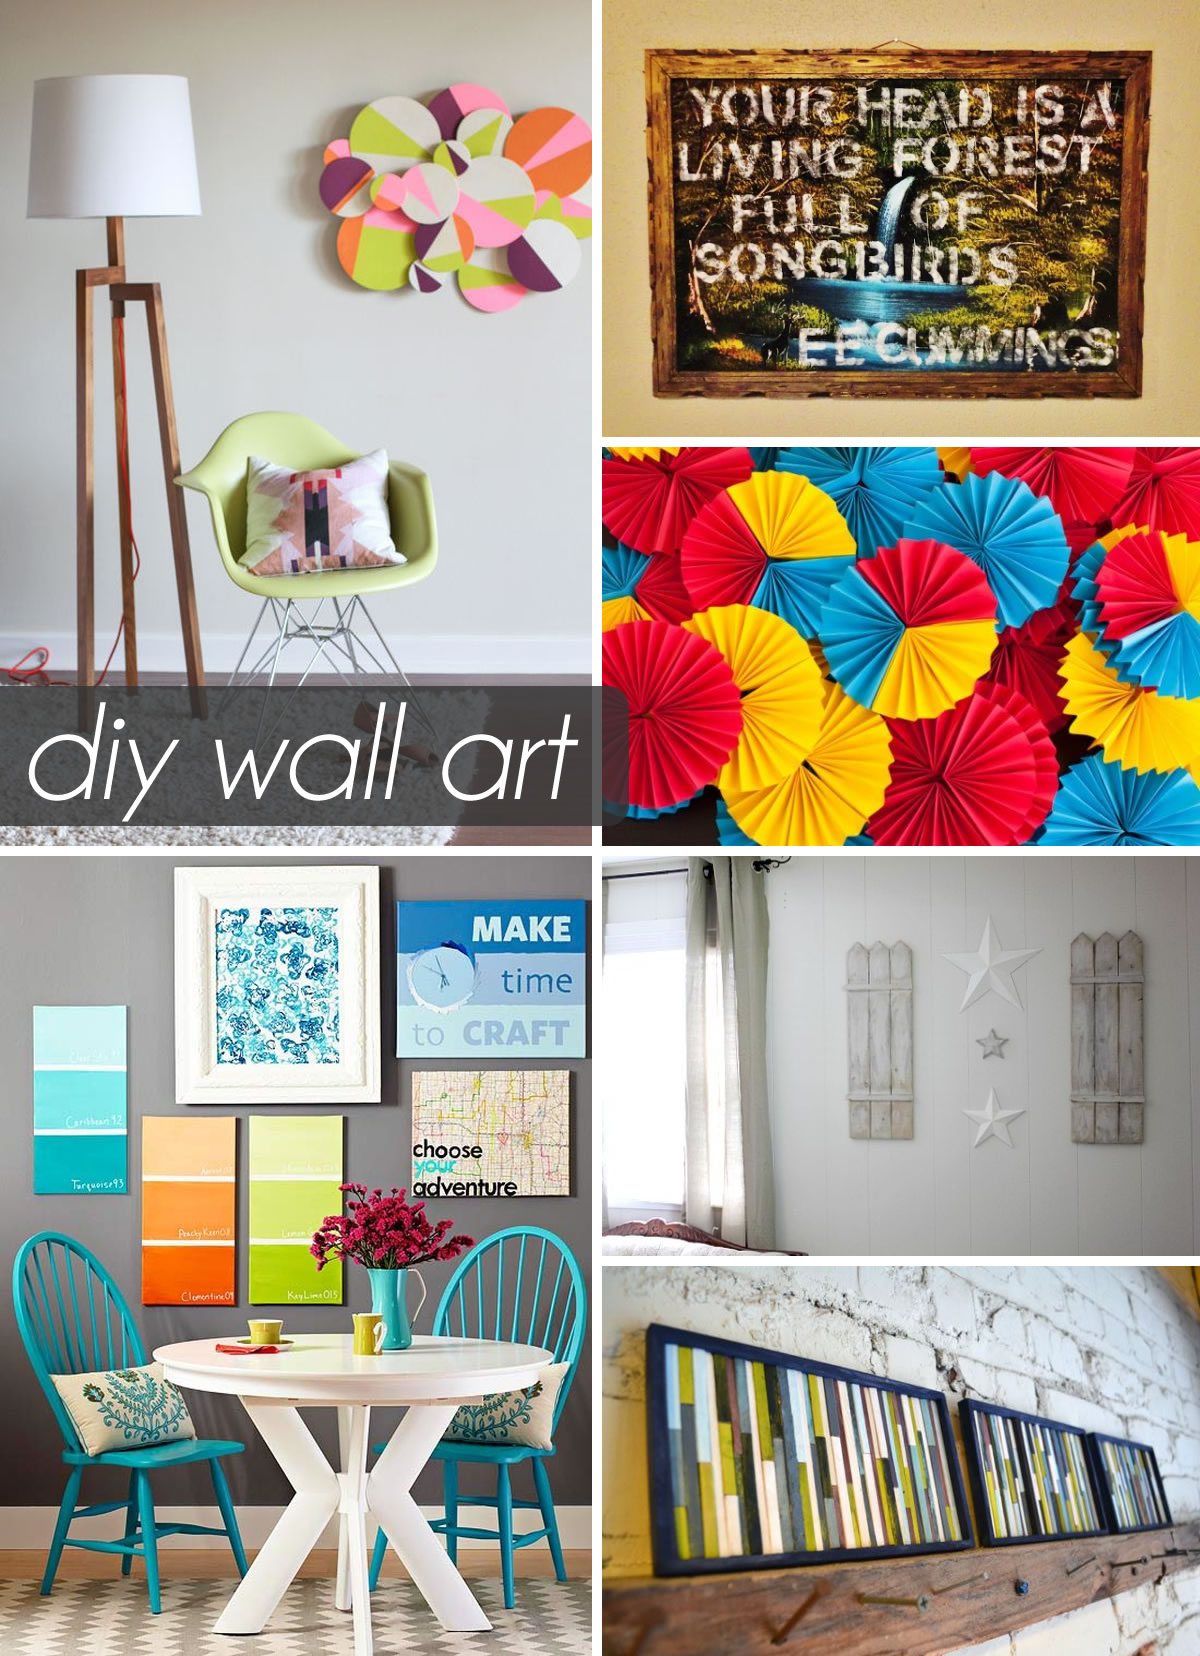
Choose Your Design
When it comes to DIY wall art painting, the design options are virtually limitless. You can opt for abstract patterns, landscapes, portraits, or even inspirational quotes. Take some time to explore different styles and find a design that resonates with your personality and complements your interior decor.
Prepare Your Surface
Before you start painting, it's crucial to prepare your surface properly. If you are using a canvas, ensure it is free from dust and debris. If you are working on a wood panel, sand it lightly and apply a primer to create a smooth and even surface for painting.
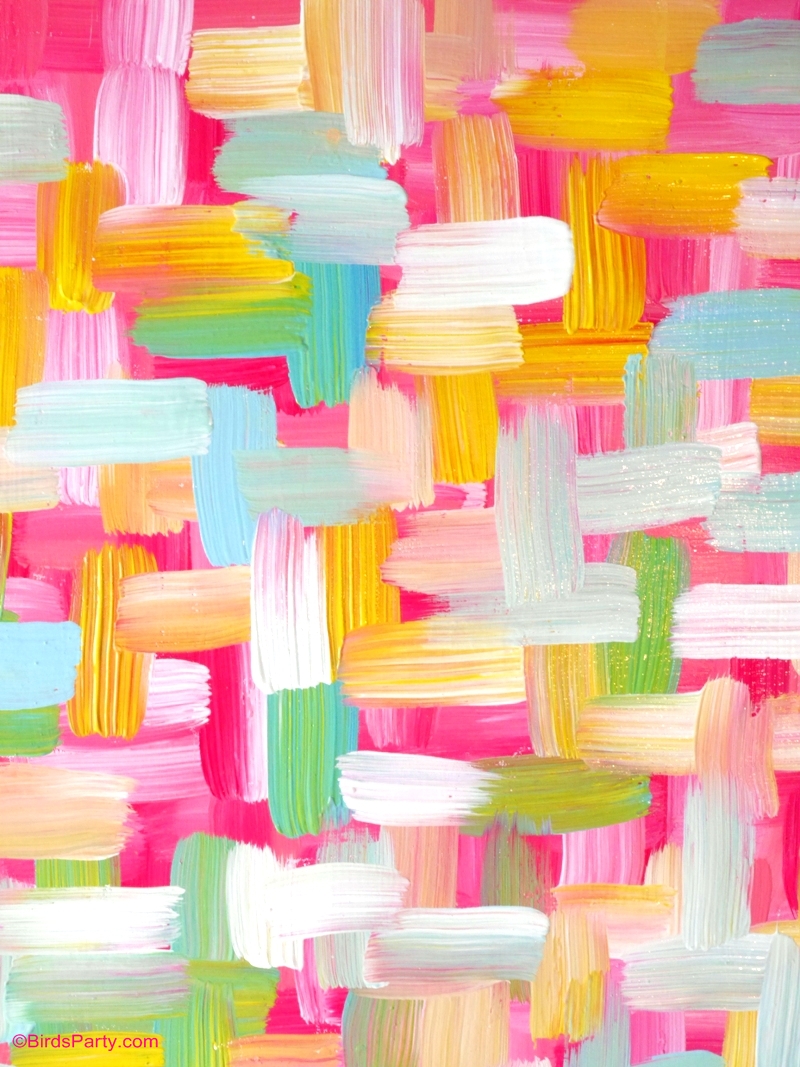
Experiment with Colors and Techniques

One of the joys of DIY wall art painting is the freedom to experiment with colors and techniques. Mix different shades, blend them on the palette, and apply them to your canvas or wood panel using various brush strokes. Don't be afraid to get creative and try out different painting techniques like stippling, sponging, or even finger painting.
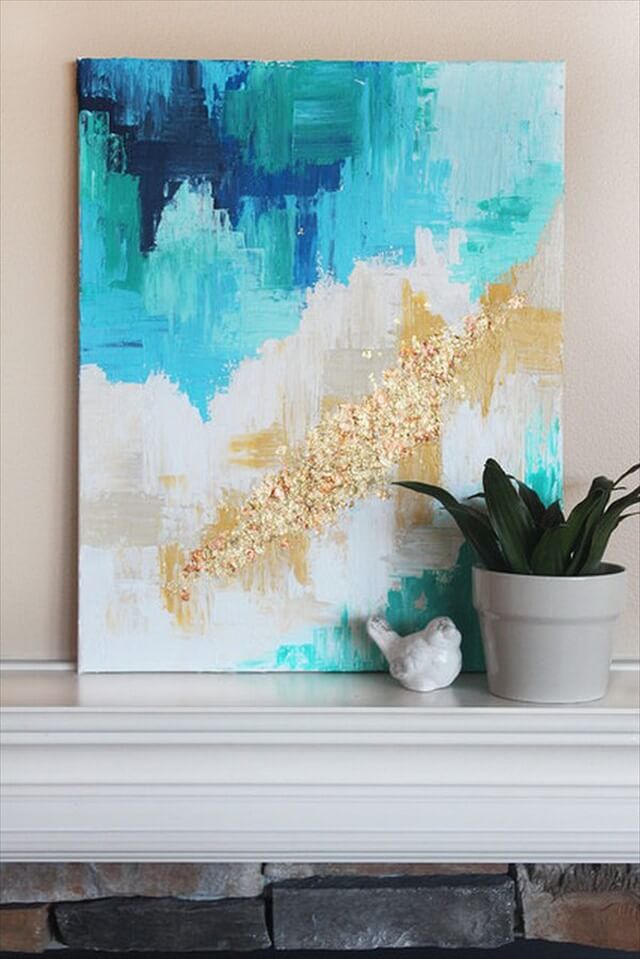
Add Texture and Dimension
To make your DIY wall art painting truly stand out, consider adding texture and dimension to your artwork. You can achieve this by using textured brushes, palette knives, or even by adding additional materials like sand, fabric, or beads to your paint. Experiment with different techniques and see how they enhance the overall look and feel of your artwork.
Protect Your Artwork
Once you have completed your DIY wall art painting, it's important to protect your artwork to ensure its longevity. Apply a varnish or clear coat to seal the paint and protect it from dust, dirt, and UV rays. This will keep your artwork looking vibrant and fresh for years to come.
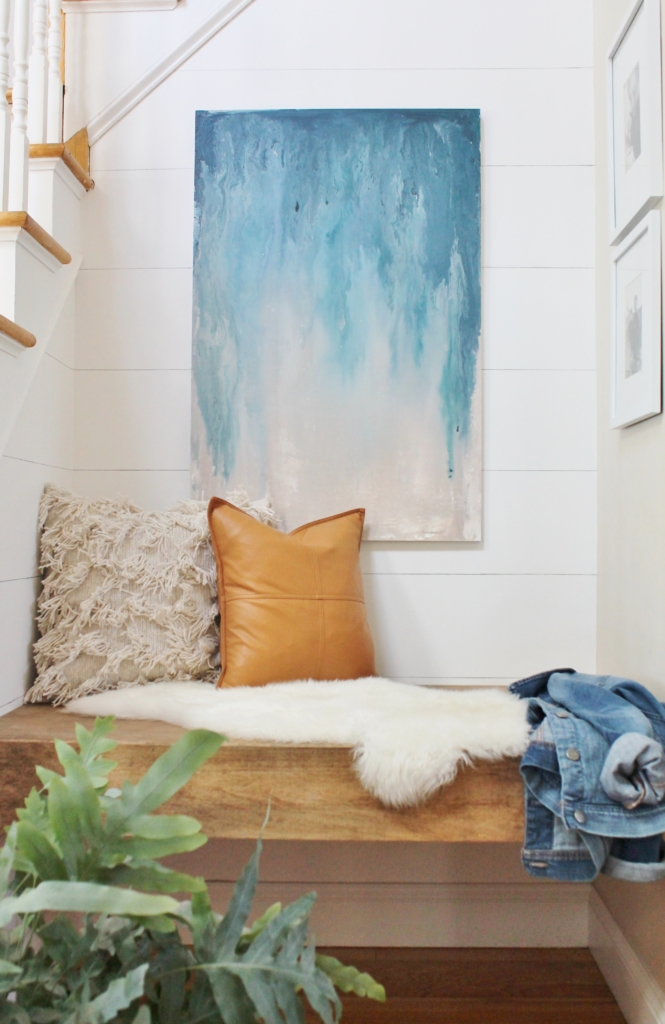
Display and Enjoy

After all your hard work, it's time to display and enjoy your DIY wall art painting. Choose a prominent spot on your wall that allows the artwork to be the focal point of the room. You can also experiment with different frames or hanging methods to enhance the overall aesthetic appeal of your artwork.
Conclusion
DIY wall art painting is a fantastic way to unleash your creativity and personalize your living space. With the right materials, design, and techniques, you can create stunning pieces of artwork that reflect your unique style. So, gather your supplies, let your imagination run wild, and start painting your way to a more beautiful home.
