
Are you looking to add a touch of creativity and personality to your home decor? With the help of Cricut, a cutting machine that allows you to create intricate designs, you can easily create stunning wall art pieces that are sure to impress. Whether you're a seasoned DIY enthusiast or just starting out, this article will guide you through the process of making unique wall art using Cricut.
Choosing the Right Materials

Before diving into the world of wall art DIY with Cricut, it's important to gather the right materials. The key ingredient is, of course, your Cricut machine. Make sure it's in good working condition and loaded with the necessary software. You'll also need various types of vinyl, transfer tape, adhesive, and a selection of frames or canvases to display your finished pieces.
Finding Inspiration
When it comes to creating your own wall art, the possibilities are endless. Start by finding inspiration in different sources such as magazines, websites, or even Pinterest. Look for designs that resonate with your personal style and would complement your existing home decor. Remember, the goal is to create something unique that reflects your personality and adds a personal touch to your space.
Creating Designs with Cricut

Now that you have your materials and inspiration, it's time to start creating your designs with Cricut. The Cricut Design Space software allows you to design and customize your artwork easily. You can choose from a wide range of pre-designed templates or start from scratch. Experiment with different fonts, shapes, and images to bring your vision to life.
Preparing and Cutting Vinyl

Once you've finalized your design, it's time to prepare and cut the vinyl. Measure the dimensions of your chosen canvas or frame and adjust your design accordingly. Load the vinyl onto the cutting mat and feed it into the Cricut machine. Follow the machine's instructions to ensure precise cutting. Once the cutting is complete, carefully remove the excess vinyl to reveal your intricate design.
Transferring and Applying Vinyl

After the vinyl is cut, it's time to transfer and apply it to your chosen surface. Use transfer tape to carefully lift the design off the cutting mat and onto the surface. Smooth out any bubbles or wrinkles using a scraper tool. Once the vinyl is securely in place, gently peel off the transfer tape, leaving behind your beautiful design. Repeat this process for multiple layers or colors if desired.
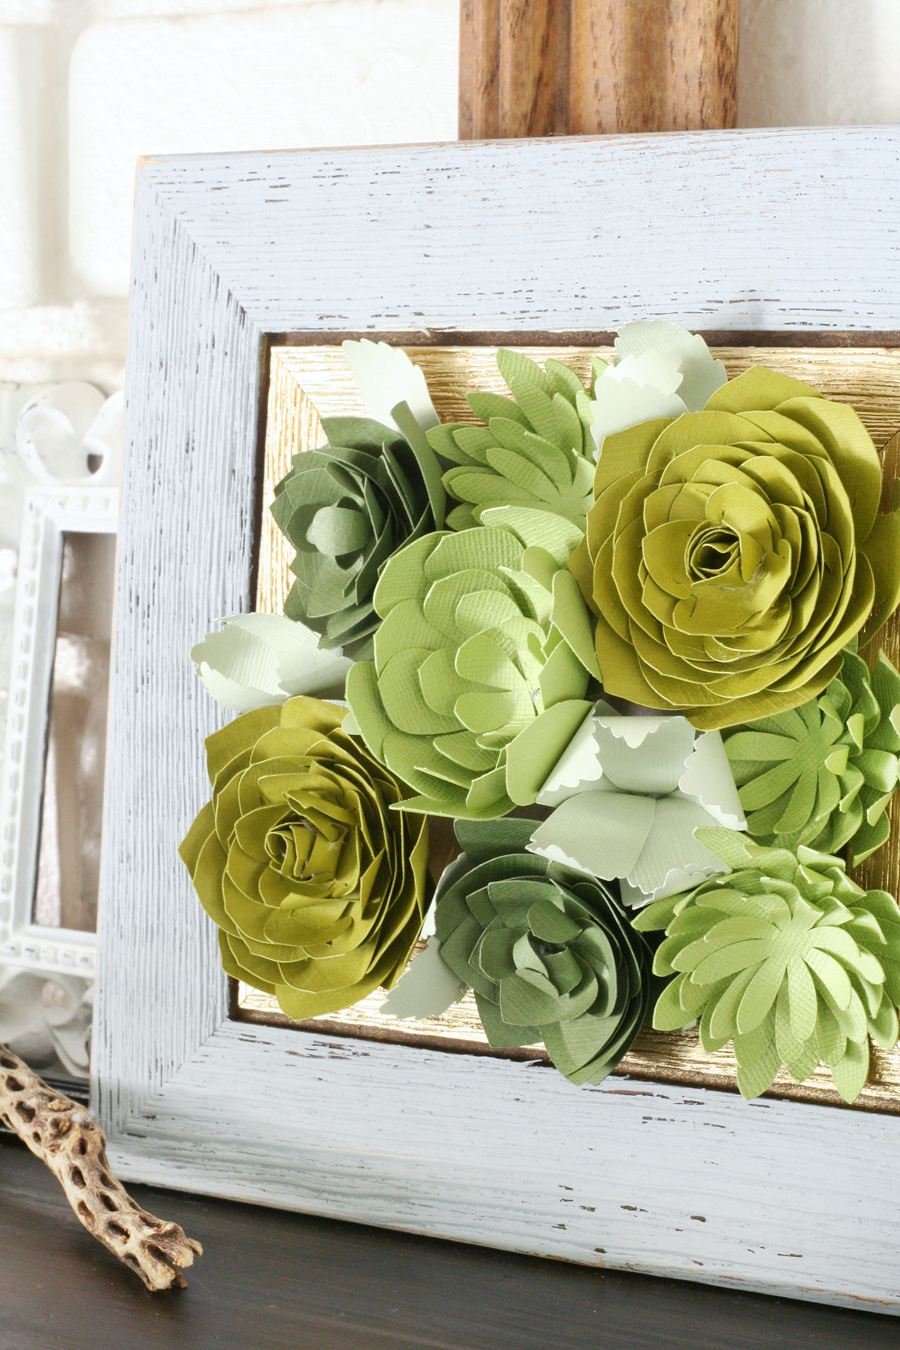
Displaying Your Wall Art
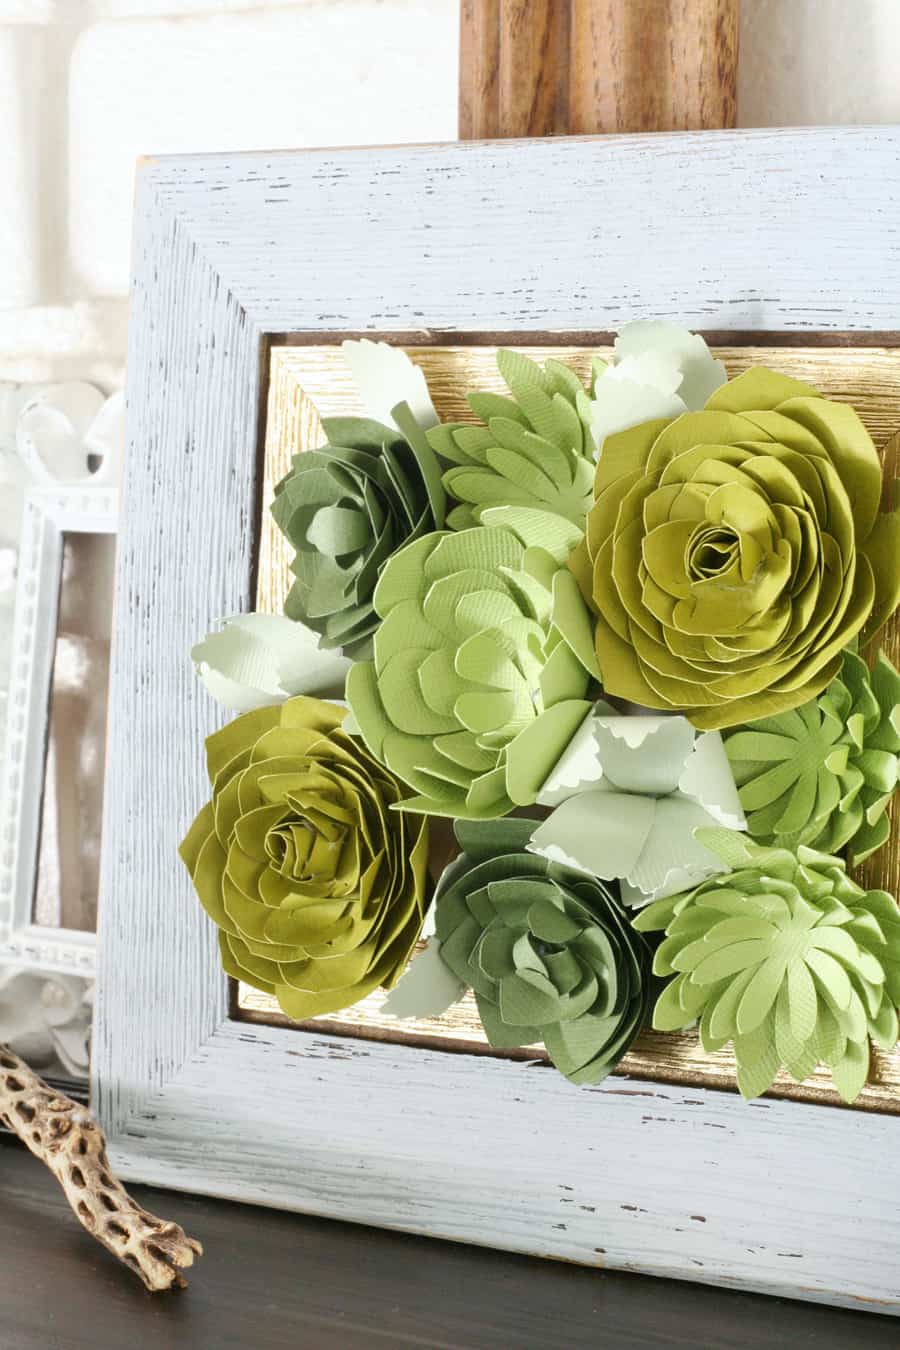
Now that your wall art is complete, it's time to find the perfect spot to display it. Consider the overall aesthetic of the room and choose a location that allows your creation to shine. Whether it's a statement piece above the mantel or a gallery wall in the hallway, your DIY Cricut wall art will undoubtedly become a conversation starter.
Conclusion
Creating DIY wall art with Cricut is a fun and rewarding way to add a personal touch to your home decor. With endless design possibilities and the ability to customize each piece, you'll be able to create unique artworks that reflect your style and personality. So, grab your Cricut machine, gather your materials, and let your creativity soar!
